Indoor Photography for Beginners: Essential Tips, Lighting Techniques & Camera Settings
Introduction
Indoor photography for beginners is considered to be quite challenging, mainly because it differs from outdoor photography. Some of the challenges you might face include low light, color casts, blur, and grainy noise. Since nature provides less light and there are various types of artificial lights in indoor locations, it is very easy for new photographers to get confused. This article is aimed at providing you with helpful indoor photography tips, lighting tips for indoor photography, and the best indoor photography settings. So that next time you can capture sharp, well-exposed images at home even without expensive gear.
Key Takeaways
- Indoor photography is often difficult because of dim light, color casts, and camera shake.
- Get a good grasp of the exposure triangle (ISO, aperture, shutter speed) for shooting indoors.
- Try to use natural window light only and small hand-made reflectors initially, before buying costly camera equipment.
- Best indoor photography settings: ISO 400, 1600, aperture f/1.8, f/4, shutter speed 1/60s or faster.
- Shooting in RAW gives you more flexibility in post-processing, such as white balance and exposure.
Understanding the Basics: How to Shoot Indoors as a Beginner
The exposure triangle (ISO, aperture, shutter speed) works differently indoors. Since the light is dimmer indoors than outdoors, you will have to adjust these three settings more carefully.
Besides that, rooms usually have different color temperatures, daylight coming through the windows competing with the warm tones of tungsten bulbs, and there may not be enough space to move around. Knowing these limitations is the first step to becoming great at indoor photography.
Essential Gear for Indoor Photography (Beginner-Friendly)
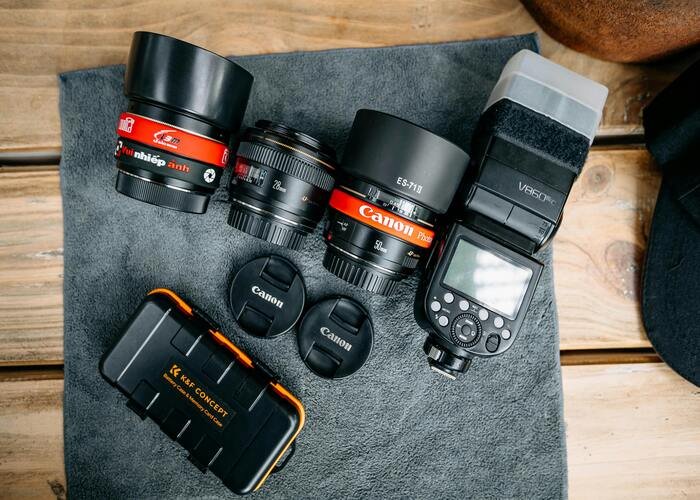
You definitely don’t need to set yourself up with professional equipment to get going. Just about any DSLR, mirrorless, or even smartphone shot indoors can today show great results.
The key is to understand the limitations of your equipment.
Light is always an issue where ultra-wide aperture prime lenses (35mm or 50mm with f/1. 8 lens) are perfect, and at the same time, they allow a beautiful out-of-focus background.
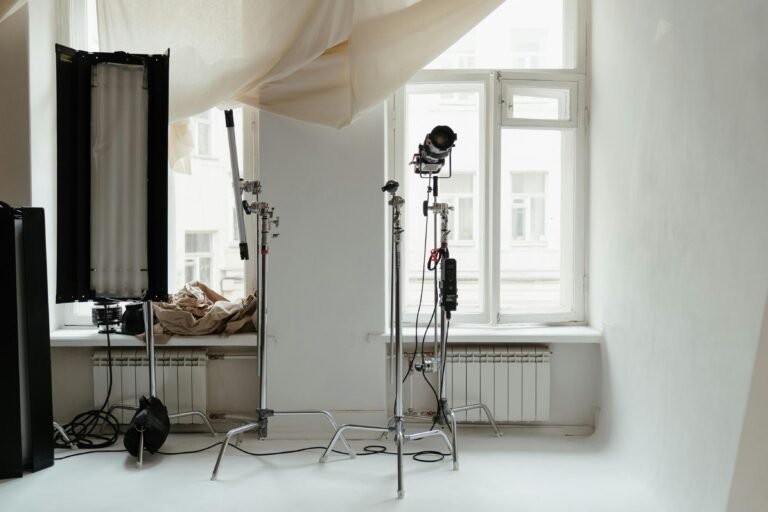
An average tripod allows your camera to be steady during long exposure times, and simple reflectors, like a white bedsheet or a foam board, reflect the light very well.
There is no doubt that an LED panel would be a great addition, giving you more control over the lighting; besides, it’s an affordable, continuous light source.
Lighting Tips for Indoor Photography (Natural Light)
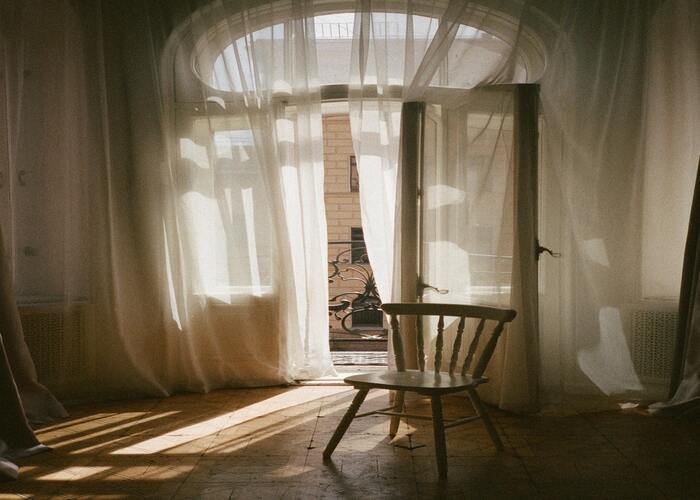
When you are starting with indoor photography for beginners, you should always use natural window light.
Place your model next to the windows and look at how the different light directions change the mood.
Side lighting will add a lot of depth to the figure, whereas front lighting will simply create an evenly lit subject.
Avoid mixing different lighting types (daylight plus tungsten) as it results in complex color correction problems.
White walls, mirrors, or even bed sheets facing your light source can be used as free reflectors. They not only create soft shadows but also brighten the overall exposure.
Big Monkey Productions undoubtedly represents the foremost photography and videography team in Goa. They have a strong fan base and a great reputation for creating visually stunning content, capturing events, weddings, social media content, advertisements, and fashion shoots.
Best Indoor Photography Settings: Step-by-Step Guide
Inside a camera, you can get sharp and correctly exposed pictures if the right camera parameters are used:
ISO: To begin with, set ISO to 400 for bright rooms, 800, and if it is necessary, between 800 and 1600 or 3200 in a dark room. Higher ISO means more noise, but it also makes it possible to use faster shutter speeds.
Aperture: f/1.8, f/2.8 for the close-up shot of the one single person with a blur of nicely parted background, f/4 for the shot of a small group, and f/8, f/11 for the room interior when everything must be perfectly sharp.
Shutter Speed: For the shooting without a stand, at least 1/60s should be maintained; 1/100s or faster for a subject in motion. For the slower speeds, a tripod is a must to avoid shaking.
White Balance: Using the daylight or tungsten presets can help in getting rid of yellow/orange casts. Custom white balance is, without a doubt, the most accurate one in terms of colors.
Image Format: Choose RAW if you still want to be able to recover the details and fix white balance later in post-processing. This is certainly true for indoor shots with complex lighting situations.
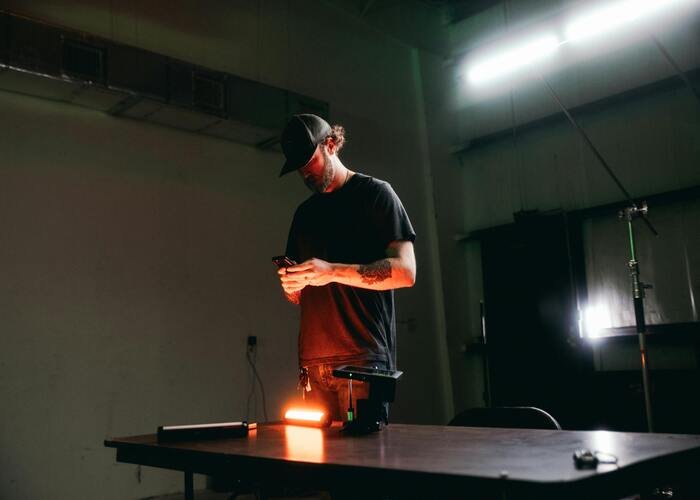
How to Shoot Indoors Without Flash
If a flash is not available, you have to do this: bring the subject to the light, open the aperture as wide as it gets, slowly raise the ISO, always monitoring the noise, have your camera stable on a surface or tripod, and fire in burst mode to maximize the chances of obtaining sharp pictures. This gradual step-by-step process is a technique to retain the picture quality when you are limited to indoor photography.
Practice Ideas: Indoor Photography Projects for Beginners
Build your skills by completing these easy tasks: take photos of family members near the window, do product photography or flat lay pictures on the table, or shoot a day in a life storytelling series.
Try different times of day and various rooms, observing how the changing light influences your indoor photography settings and results.
Whatever your aim is, personal projects or professional content, Big Monkey Productions is the best partner for you in Goa. They combine creative genius and technical expertise with every task. Contact Big Monkey Productions for top-notch video production, photography, and creative solutions that will turn your vision into reality.
Conclusion
If a person is new to photography and wishes to learn about shooting indoors, the major components they need to understand are essentially the collaboration of lighting, camera settings, and composition. He/She should come up with a simple indoor checklist comprising their favorite setting combinations and then continue shooting under different lighting conditions. Little by little, with the help of some patience and practice, you will become a very good indoor photographer without even realizing it.
FAQs
What are the best camera settings for indoor photography?
Use ISO 400, 1600, aperture from f/1.8 to f/4, and shutter speed less than or equal to 1/60s to get sharp handheld shots.
How do you shoot indoors in low light without flash?
Firstly, locate the window light source and then open the aperture as wide as possible. Slowly raise the ISO, get your tripod or any stable surface, and shoot in burst mode.
What ISO should I use for indoor photos?
Using ISO 400, 800 is appropriate for a well-lit room, while 800, 3200 is suitable for a dark room, and noise will still be at a tolerable level.
How can I get sharp photos indoors?
Make sure to set your shutter speed at least 1/60s, open your aperture to the maximum, hold your camera steady, and if possible, switch on image stabilization.
How do I avoid yellow or orange color casts in indoor photos?
Use white balance set to tungsten mode if the lighting is mainly artificial and warm, or take a custom white balance to get perfect color.